Showing posts with label finished. Show all posts

Sunday, 11 August 2019

Sewing Sundays

This year I'm trying to do sew every Sunday that I'm not away,  at an event or sick.

No beating myself up if I don't, as it's more about being mindful and clearing up some of my unfinished projects.

Sadly,  my green tweed cloak disappeared from my shopping trolley in the supermarket before the vintage clasp arrived in the post - thankfully.  I've cut out the red wool in the same c1800 pattern,  but longer and as I had more fabric, fuller. Wish I'd seen it straight away as this weekend & next week is a cold,  windy snap.

Today I finally got the red floral vintage style dress hemmed,  it's going straight to the work roster.

I also finished the bike shorts I was making last year when ky machine needed a service due to a burr on the bobbin hook.


Next under a new sharps needle is the mermaid print dress that I cut out 2 years ago. There's more to sew on this than the martini print, but that needs freshly altered bodice pattern pieces to be drafted and cut out to replace the missing piece.

The darts are almost all done, and will be tonight.


Tuesday, 21 May 2019

A productive sewing weekend

For a few reasons including migraine and Eurovision semi-final, I didn't get as much done as hoped but I did complete two older UFOS. Well one needs the hem length checked before sewing, and I can get that done this week.

A couple of forgot-to-pack items (elastic to finish the PJ pants, and red thread to sew on buttons) had me d'oh. I thought I'd packed the first but it didn't even occur to me that I needed red for red buttons on a print dress being sewn with grey.

Didn't get a photo of me in either dress so I'll get around to that later in the week.

The older UFO was from March 2016, and had been sidelined for a couple of reasons. I'd originally had black fabric for a contrast collar but it felt too heavy a contrast. I eventually realised that the fabric I bought for the mermaid print dress was far better for this dress. Preferring 3/4 length sleeves, I drafted a contrast + shaped band for the sleeve hem.  If I'd thought about adding more of the lapel fabric before the dress was cut out, I could have added a shaped angled fake-pocket flap to the skirt.  I'm the rare woman who doesn't like pockets, so it didn't occur to me when I avoided the pattern's pockets. I even remembered to include a loop in the waist seam for my work's building/printer pass.


The 100% finished dress is the  February 2017 dress in the Lost at Sea print, originally finished in the same room/retreat back in 2017.  It was very demoralising that it didn't fit, and when I tried taking in the bodice it became clear that the neckline didn't suit me. As it couldn't be altered due to already cut buttonholes, I eventually threw more money at it and got more fabric.  I think that one reason I've procrastinated on finishing the new bodice to attach the already made skirt, is the fear that it still wouldn't look good on me. But you know, even if it doesn't look perfect it's still better than I could buy in RTW. I've included the waist loop (nearly forgot) and as it was done just in time for packing up, will press it before getting a photo.

I need to make a cape/cloak before tacking the next UFO dress-a-month - the mermaid print.

Saturday, 30 December 2017

replacing my laundry hamper lining

The lining on my laundry hamper got shabbier than I'd like, so it was time to make a replacment.  This time not from unbleached calico but a yellow and white stripe cotton twill.  I originally got a different fabric but realised that I was procrastinating because I just didn't like it as much.  I'd gone to Spotlight with a friend who was looking for Grinch fabric (which ended up out of stock) and realised that they had a sale so grabbed the stripe as well as some bargain blockout lining that I need. $14 down to $4, yes please I'll take 6 metres of lining at that price.


The hamper lining is very simple. A tube to fit the widest part of the tapered basket, gathered onto a circle slightly larger than the base inside.  The previous one I made had an elastic casing under the outside lip to stop it from slipping inside but that wasn't as effective as I'd hoped.  So this one has tape n each side that ties through the handles to help prevent the liner from getting dragged down inside. There's also a ridiculously long edge so that it doesn't slip inside at one point and drag the entire liner inside ... which happened a few times with the old one.


I covered the lid also - a circle with an elastic bias tape casing on the edge.


Tuesday, 31 October 2017

October dress is finished

I don't have a full length picture as yet - I'll have to figure out how to set up a timed photo on my phone.  I'm really happy with it, and it's had a lot of appreciation from my colleagues - including from strangers in the lift. I remembered to snap a pic on the train at the start of my commute.


I had to seam the centre back of the upper collar as it's a 1 direction print and I didn't want an upside down cat/bowl on one side.  I carefully placed the upper collar so that there's a cat+bowl in the same spot on each lapel and didn't add a button as it would have looked awkward with this print.

Thankfully I got this finished within 2 weeks of the fabric arriving - as that was a self imposed condition of buying it.

Sunday, 21 August 2016

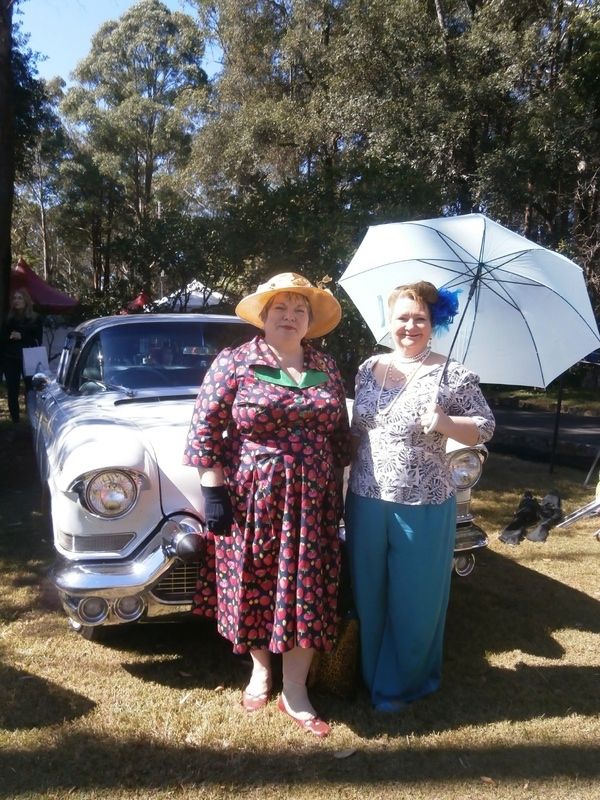
Fifties Fair in my February dress

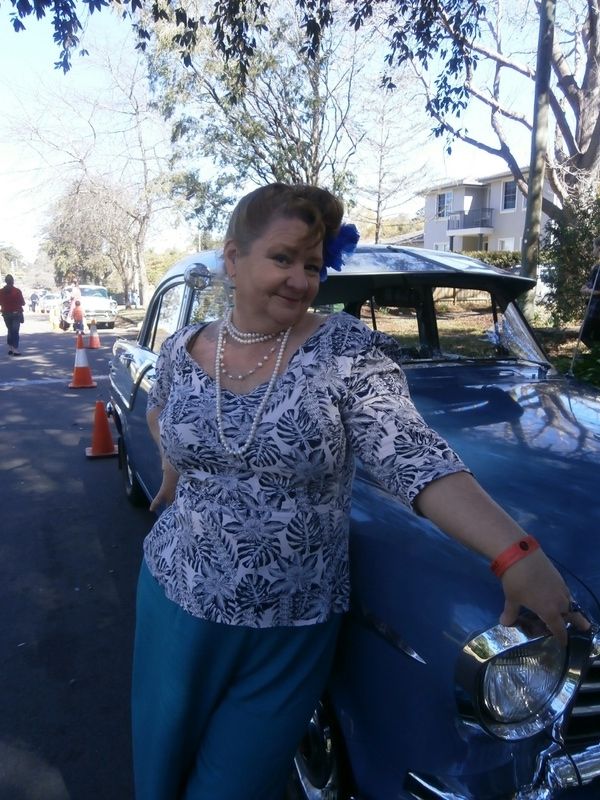
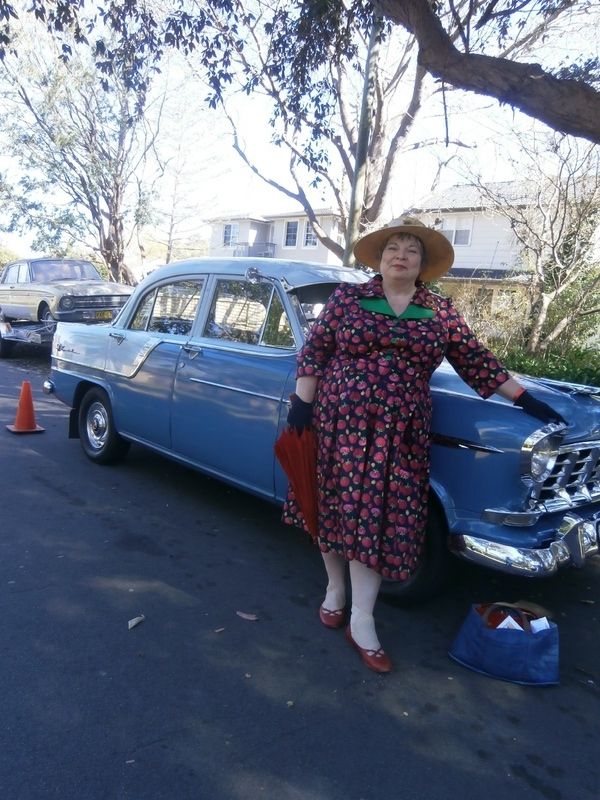
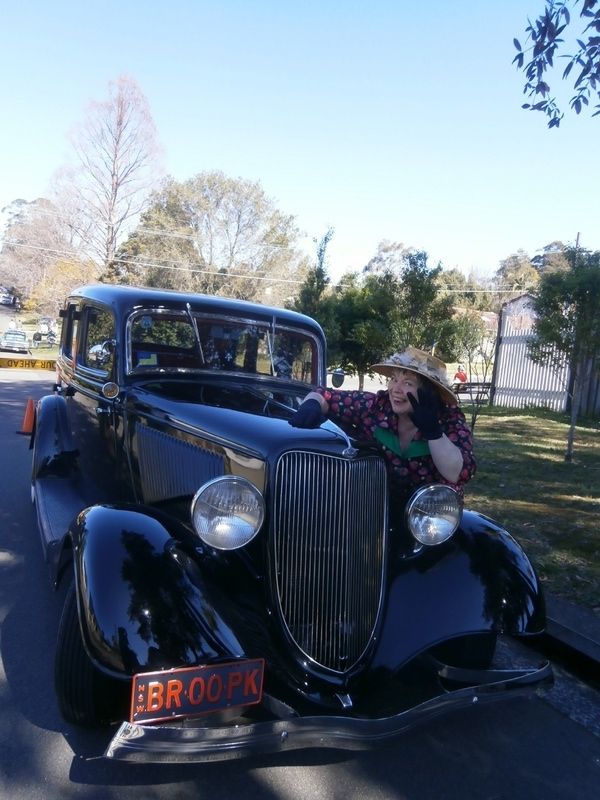
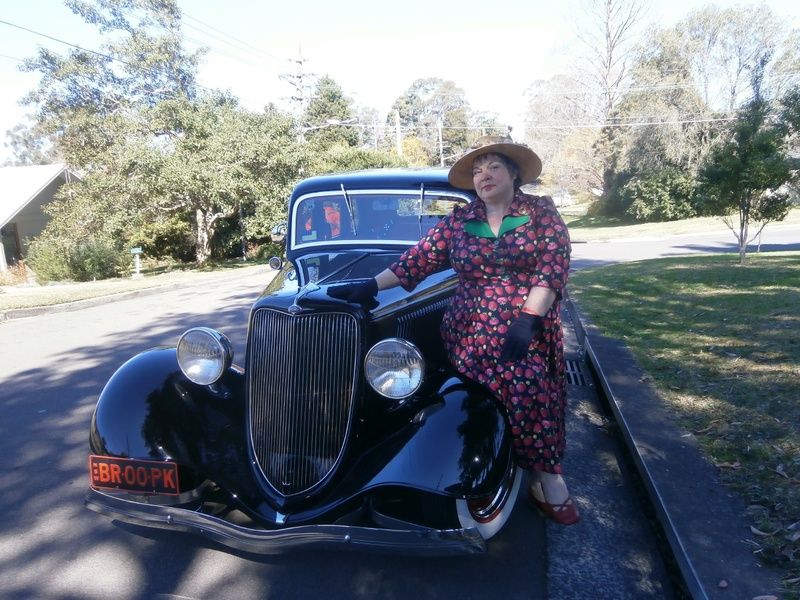
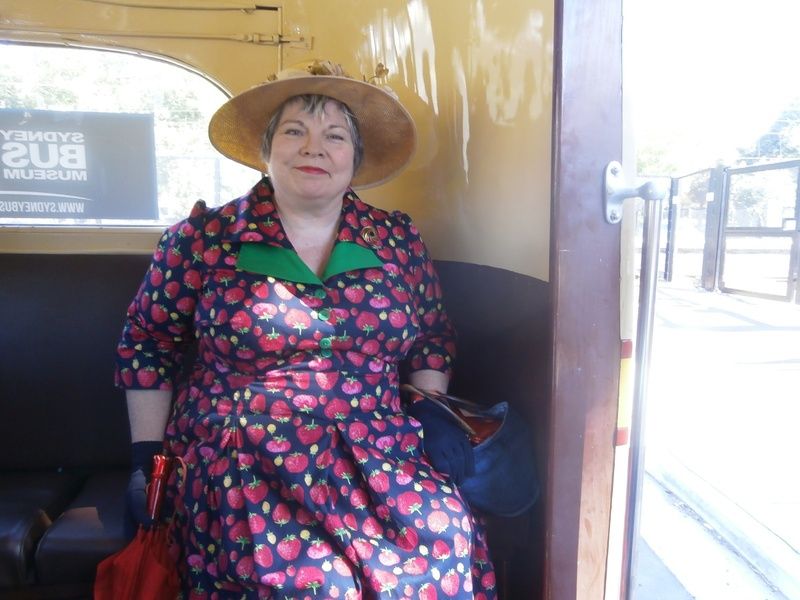
Yesterday I finally finished my February dress ... it's not perfect (bust dart hell!) but it'll do :)  I'd made covered buttons of the strawb print and I should have used the green collar fabric instead, because the card of green buttons that I grabbed months ago on sale as a guestimate at colour matching are what I ended up using. I'd thought the green buttons were a bit too big (20mm wide and my covered buttons were 15mm) however they were the right size and tied the collar in with the fabric, so thank goodness I grabbed them.

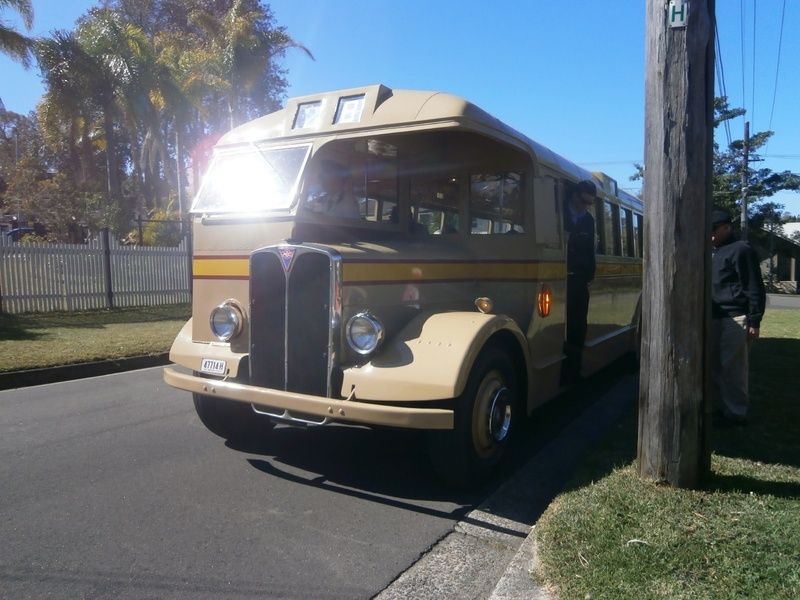
I meet my friend Colleen  to catch the shuttle bus from Turramurra Station to the 50s fair that's held every year at a historic house, Rose Seidler House.  It's usually held on the last weekend of August, so usually the same weekend as the costume ball in Adelaide. The previous year that I didn't go to the ball was when my knee was still in the do-not-bend phase after the tumour removal.  So this is the first year I could go to the 50s Fair. Mind you this year I'm not going to the ball anyway so could have gone to both for the first time.  Enough rambling onto photos!  (and apologies for not noticing the collar wasn't laying properly all day!


We didn't join the coffee queue early enough so skipped it when it got longer than my desire for a luxurious 2nd coffee.  Looked at all the pretties on sale in the market area - jewellery, umbrellas, teatowels etc and we forgot to take photos of other people.


The grounds are fairly uneven, and the food wasn't me-safe, the only picnic areas being on the ground for so many people on a non-domestic lawn site.  It's more a hillside native bush environment.  We ended up taking photos with some of the cars on display in the closed off road and catching the bus back to Turramurra for lunch & a great chat.


I'm not sitting on the car but balancing on my left leg (foolishly cos I upset the ankle/foot in my 3rd strain in a month)


and they didn't close the back door on the bus ... and of course we sat at the back seat both trips


I'll use this pattern again with my mermaid print ... and I'm excited to cut that out this week as the August dress and also finish the March dress.

I'm selling the gap between March & August as hibernation due to work stress.

Friday, 22 July 2016

Sewing project completed at last - waiting from back in January

Way back in January I was dithering over a 1920s dress for the Roaring 20s festival.  A dress that I didn't finish then cos I got some virus and the start of my missing sewing mojo (which would normally have me power through regardless).

What I didn't blog about was the dress I started making back then.

I borrowed this OOP Vintage Vogue pattern #2535 from a bestie.


I found some black rayon in the stash, and got enough of this embroidered border silk/cotton to use on the lower band with a straight hemline.  I used the plain top half of the silk/cotton to line the sleeveless bodice.  I'm planning to do a shaped hand rolled hem, following the lower edge of the embroidery. 
Inspired by reading this blog post by witness2fashion on 1920s Accessories: what's missing? I'm also going to gather the centre front line of the cape collar because with my boobs it just doesn't look quite right, and I'm thinking of placing a 20s-ish brooch over that. I also have a giant peony fabric flower that I'll put towards my left shoulder to draw the eye up towards my face. 

I'm not going to look my prettiest because I'm a short stout woman and not the ideal figure for 20s, but I'll look fashionably dressed and that's what counts.

Oh, and I finished the dress earlier this week, and am wearing it to a 1920s lawn party on Sunday.


Sunday, 19 July 2015

18 month old idea realised: pillow tote

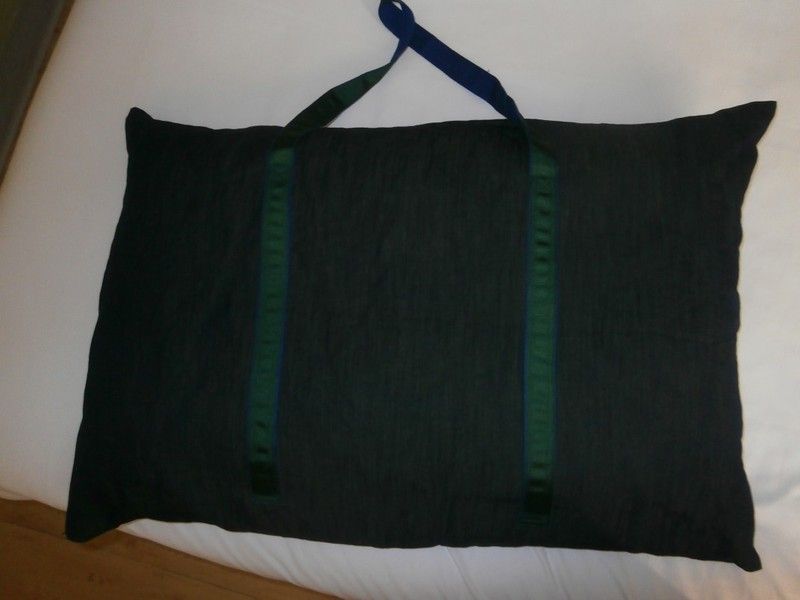
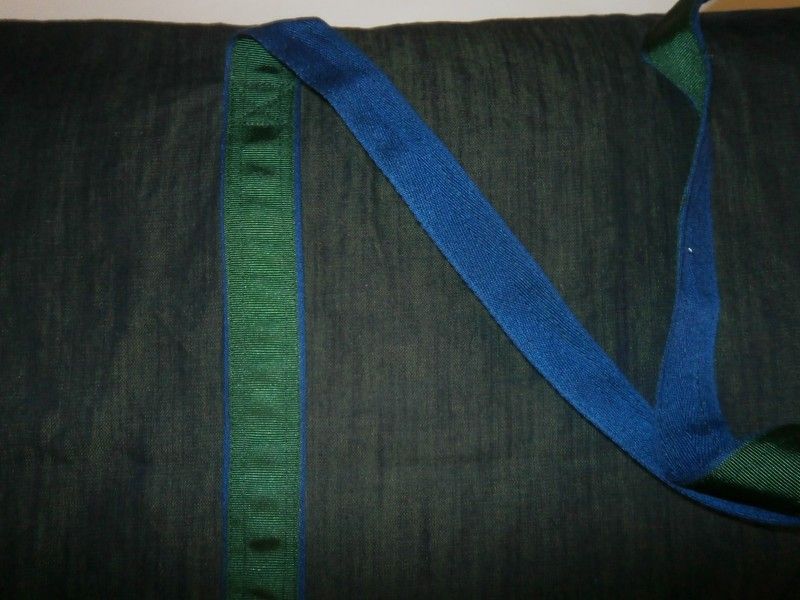
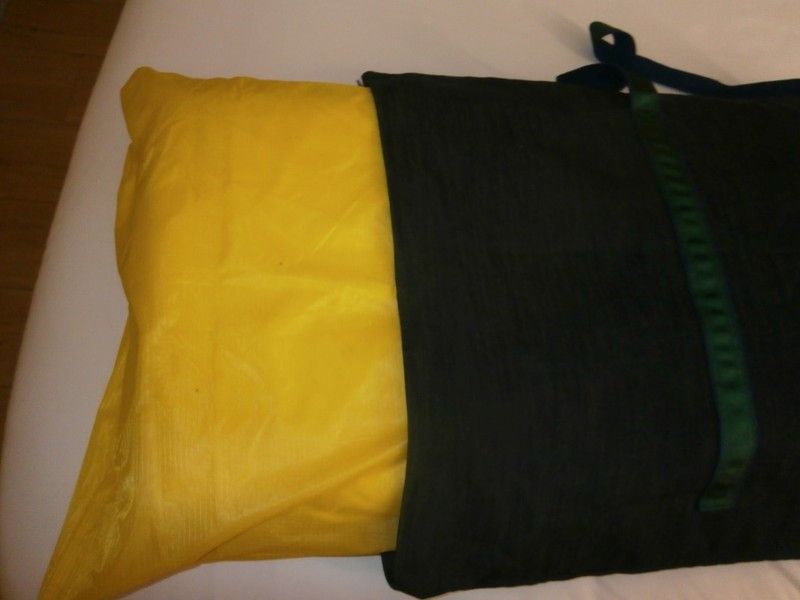
Probably not the first time it occurred to me, but early last year when I caught the train to Canberra I thought how useful a custom made pillow tote would be. I have a spendy pillow which I hate to leave at home, but equally clutching a pillow in changeable weather to/from a train or bus station has some drawbacks.  So with only the purchase of polyester webbing and grosgrain ribbon required, I made myself a tote with stash fabrics.

 I ball parked the size, and it could be reduced a little in height. I used a lightweight but crisp denim that is lime green warp and navy weft, unlike most denim which is white and navy.  I knew I wanted polyster webbing - easier to dry than cotton - but neither navy nor green was right with this fabric, so I chose a navy webbing and a green grosgrain ribbon. The ribbon was slightly narrower than the webbing so I eyeballed it in the centre and topstitched them together.  Then I edgestitched the green ribbon when I applied the handles. I didn't get it exactly even, but it's only fair to say that I was chanting "it's a quick & dirty project" as I ignored the worst of the sometimes imperfectly centred green. It's a pillow tote, and made from scratch in just over an hour including cutting out.


 I put the zip on the side not the top, and the zip pull closing at the bottom edge. It seemed the smarter choice at the time, and as I was sick with a respiratory virus turning to bronchitis, well I can safely claim a lack of oxygen to the brain. ;)

This tote itself is intentionally NOT waterproof - easier to launder and dry if it gets grubby during travel.  However I used some waterproof fabric from a make-your-own-kite kit that I was given before 2008 and have never used to make a vibrant yellow waterproof pillow case.


It's great to use, and easy to carry, and I can even put my pjs in the waterproof pillowcase with the pillow if I need to.  So happy that I finally got this made, even if it's been a long time in the cerebral cortex.

Thursday, 16 July 2015

Historic Sew Monthly 2015: March, Stashbusting

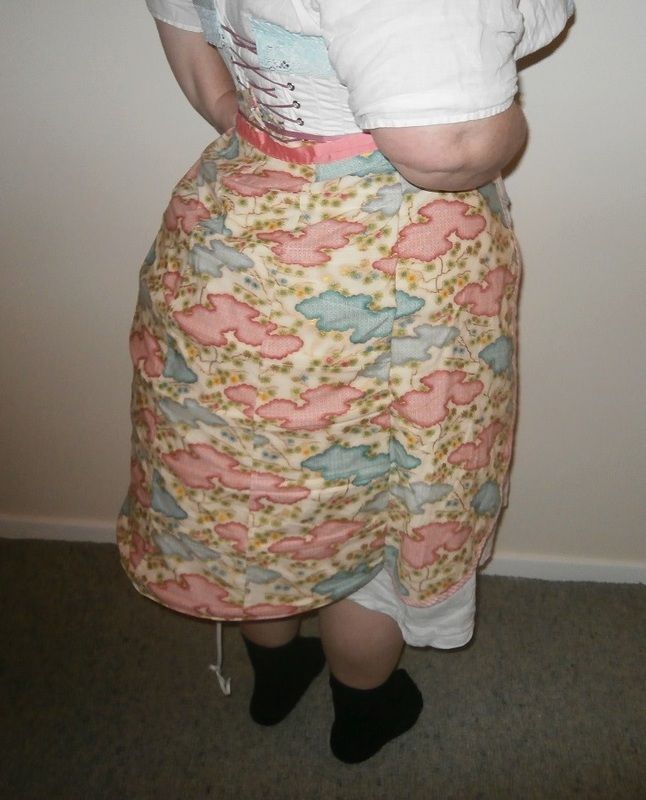
I was a whisker away from finishing this back in March and posting in time. But I put it aside to finish my Mrs Whitlow 1917ish dress. The last thing left to do back then was add the waistband of grosgrain ribbon and take a photo.


I didn't iron it after taking it out of the suitcase so I'm happy with it. The only thing I may or may not do is add a boxpleat ruffle to the bottom of the cage.

The Challenge: March 2015 Stashbusting - Make something using only fabric, patterns, trims & notions that you already have in stash.
Fabric: from a 7metre bolt end of quilters cotton, purchased about 8 years ago on sale.
Pattern: Laughing Moon #112 View D - bustle cage
Year:  1883-9
Notions: thread from stash, bias binding from stash, german nylon boning from stash, buttons and grommets from stash.  The only thing I bought was grosgrain ribbon for the waistband because I really felt it needed to match the fabric.
How historically accurate is it? probably 95%, the waistband ribbon andnylon boning are the only non-period aspects.
Hours to complete: 7-8 hours as a guestimate.
First worn: Saturday 11 July
Total cost: $2 for ribbon, everything else had been stashed for a minimum of a year

Monday, 4 May 2015

a gift dressing gown complete - Simplicity 3575

I headed off to the sewing retreat on Friday, still with lots of nausea thanks to an adverse reaction to medication. I'd been exposed to whooping cough and 3 days later come down with sore throat+swollen glands+sneezing so was put on antibiotics as a precaution while waiting for the test results - thankfully negative.

We got to Stanwell Tops about 3.30-4pm, and were able to start setting up straight away. After dinner I started working on my black skirt, only to realise I hadn't marked the wrong side on the back piece and stalled when it got matching front to back. The front is asymmetric so was easy to work out.  I switched to making a dressing gown for a friend and then went to bed early *AGAIN*. 3rd night in a row. Silly body.

Saturday morning I switched back to sewing my skirt and finished it. Only to find my fabric was a poor match for the pattern and it looks fugly as. I know it's the fabric  cos it's my fave Decades of Style pattern that I've used multiple times. In linen/rayon herringbone it drapes beautifully, ditto wool crepe, and even a soft wool twill.  This linen/cotton twill ended up that bit too stiff and my right side seam is clumpy and lumpy and not fixable.  It fits, so it's not a fit issue. GRRRR  I'll repurpose the fabric for something else. Either a corset outer layer, or a bag for packing shoes, or *something*. There was half an hour left til lunch was served so I filled it with a mix of sitting+vegetating and showing someone who's not getting dart ends sitting right how I finish the ends of my much bigger darts so that they are subtle not pointy.

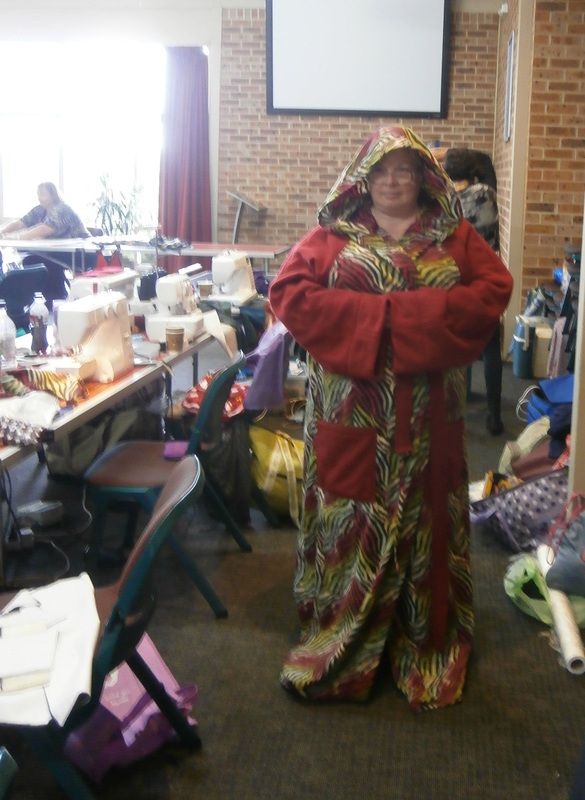
I was also feeling sore-throat and swollen glands again, 3rd weekend in a row. So I plodded along sewing the dressing gown stopping for wine and cheese and nibbles at 5pm. After dinner I returned to the fleecy snuggle gown and got all but the belt sewn before turning in to bed.  My friend Jess is about 31cm taller than me (12.5") and I cut the body 30cm longer than the pattern, and there wasn't a whisker of zebra fabric left to make it any longer - so I hope it's long enough.


This is it on Sunday when the belt was made - the pockets might be too low, but I had to guess placement and it is what it is :).

I didn't get much more that the belt done on Sunday. I felt even worse - slept through my alarm and only got breakfast cos my roomies came back after theirs and woke me up.   Another person gave me a lemsip which helped me feel a little better, but I was zombie stage 1 all day, and a polar fleece tie belt is about all I was fit to sew. I cut out a Hello Kittie flannelette nightie but didn't have any red thread with me to sew it. Politely declined the offer of thread as I knew I'd make a huge booboo.  Then I started sticking a PDF pattern together - a fitted knit T so not an awfully painful number of pages.

Still have swollen glands and feel rubbish. blergh!!!!!  Like the side seams on the dressing gown "will this never end"

Thursday, 9 April 2015

One small change to the pattern instructions

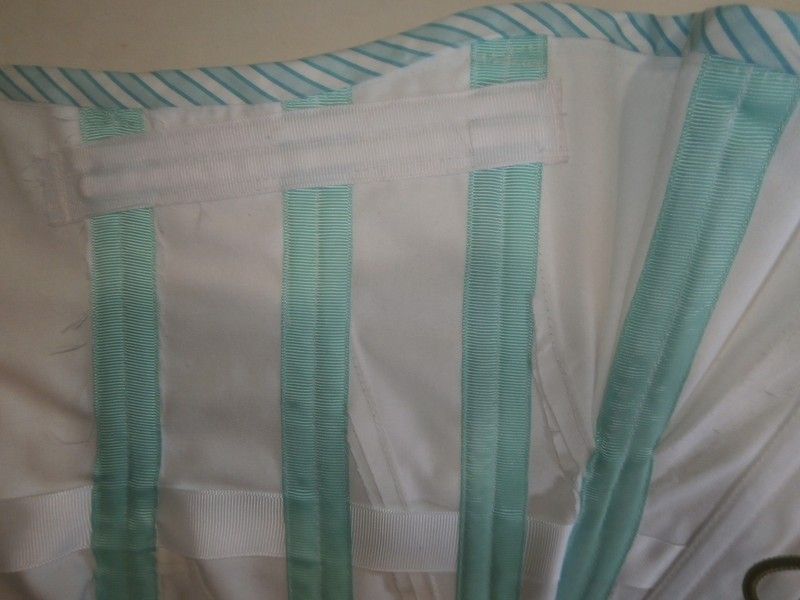
I did one change to the original pattern/instructionss.  When I've worn the black one I find the steels at underarm and towards teh bust dig into my arm, so I thought about the corsets with horizontal bones/cordning on the upper side edge. It works!  I'm not getting stabby stabby!  They're 2xshort  6mm wide flats, and covers side seam to the bust gusset seam.


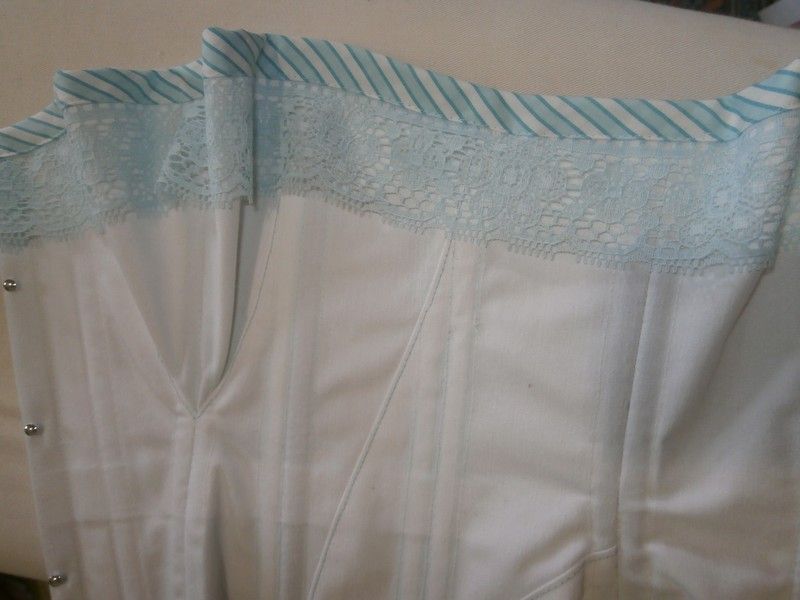
 The nylon lace is stitched in at the same time as the binding, and it covers the horizontals quite nicely.


It's so comfortable to wear, and I'll get a decent photo on the weekend, I hope.

Monday, 23 February 2015

Not the best alteration (but it's finished!)

It's not the best hack every - it's a little more snug than i'd like but i couldn't shorten it any more - as the back isn't shaped!


Saturday, 21 February 2015

Progress on a couple more UFO garments

Despite not feeling too well today (auto-immune so not contagious) I went to my sewing guild meeting and managed to be productive.

First up I bitched & moaned getting the group's overlocker re-threaded. The lower looper thread kept snapping, so in the end another less cranky person sorted it out for me.  I'd even rethreaded it from scratch and the !^$&* snapped. Too early for medicinal alcohol - overlockers (aka sergers) are the only thing I relax my zero alcohol & sewing policy for.

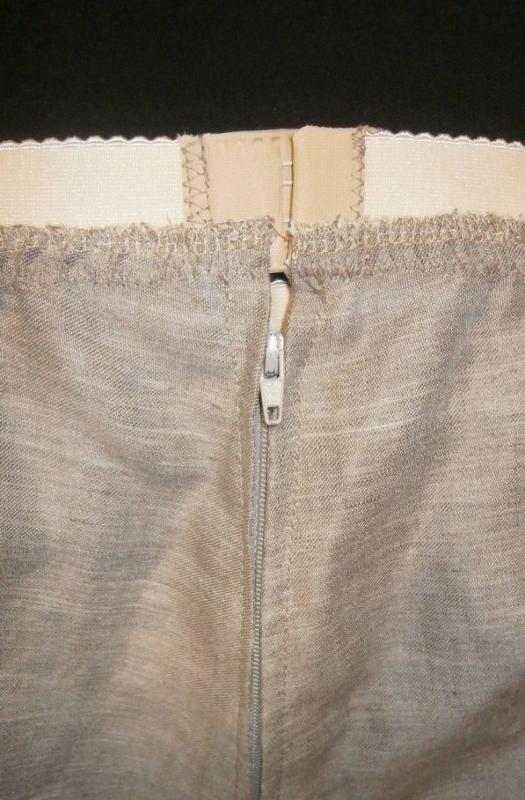
First thing under the needles was a UFO skirt. I first finished it at the end of last winter, but had to shorten it dramatically from the waist to make it fit my now tubby-guts.  Since my gallbladder surgery I can't tolerate firm waistbands any more. The pressure on the right hand side starts tipping from uncomfortable to painful, so for the first time in my life I now prefer elastic waistbands.  And I genuinely mean a waistband from lingerie elastic.  I even use a replacement bra back in lieu of a button, being very careful to hand turn near the hooks & eyes so that I don't break a needle or throw the timing.  Seeing as I'm too short waisted + overweight + boobular to wear a top tucked in, nobody is going to see it in public.

Back on topic, I've had this waiting for me to finish since spring, but I've finally got it done, a week from the first day of autumn.  I'll get a pic of me in the skirt during the week.

Next up I started working on my 5 month acknowledged UFO floral dress.  Today for the dress I achieved:
- overlocking shoulder seams
- drafting pattern pieces for neck facing
- cutting waistband pieces and neck facings
- sewing and applying the external neck facing to bodice
- seaming waistband
- stitching to bodice
- pinning to previously completed skirt section

I
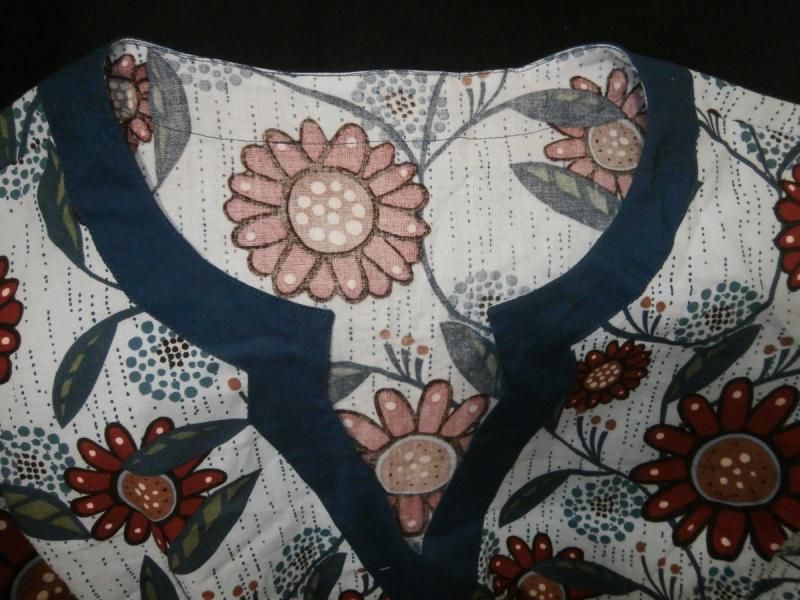
So, I'd added a smidge to the front bodice width and to the waistband front (6mm or 1/4 inch), but wasn't sure if I'd done the same to the skirt back in September. Of course I hadn't, so I will let the panel seams out 3mm each and it should be close to fitting. The back is fine, as I didn't change that as it was cut out back in September, the bodice front is what caused the procrastination. Took months to actually cut the bodice front pattern in full out of interfacing, so that I could ensure no targets dead on bust points.

Tomorrow/during this week I'll:
- let out the skirt front panel seams
- stitch the waistband to skirt
- left side seam including zipper
- hem skirt
- cut out sleeves /stitch/insert.

I also plan to make a plain black skirt (need a new one for dressing up as Edna Mode to go & see The Incredibles on next Sunday). After I check my black shirt still fits - I don't have time to make both.

Monday, 8 December 2014

selfish sewing, and not ashamed by that

I'm fairly shameless about my selfish sewing. Pretty much only sew for myself, or on a very rare occasion I'll sew for someone else I really care about. Yesterday I finished a formal dress for a friend's daughter, let's call her Salt. Her mum, (let's call her Pepper) was my first bellydance teacher, and I don't see her as much as I'd like now that I don't dance. Here's a link to me performing at the Mid North Coast Bellydance Festival's concert back in 2006. A duet with another long-time friend, and I was a badly dancing bloke who tried & failed to hit on her.

Anyways back on topic, Salt is recently 13, very very petite and loves the Miss Fisher tv show. I made a dress inspired by one of those dresses, though not in purple silk chiffon. I think I'm thankful she didn't want silk chiffon and instead went for a sparkle print knit (blue glitter on black). Foolishly I forgot to take a photo of the dress laying flat but there were 5 godets front & back (ie 10 in total) and I worked out that they made the hemline about 5metres (ie over 5 yards). That's 2x 50cm, 4x 40cm and 4 x 30cm godets. I made a mockup & posted it to her as they live in a city a couple hours up the coast. Pepper basted some changes to the seams (taking it in quite a bit) and marking the shoulder & neckline and posted that back to me. Cos Farrah had a rehearsal yesterday afternoon for a rehearsal I was able to take it over & deliver it in person. Salt came down with her mum so she could see the dress NOW as she was pretty excited about it.

I'm so relieved at how well it turned out, it fit (thank goodness) and she looks gorgeous. The school formal is tomorrow night and although I'll get a photo of her in it, I won't be sharing it online. I may share cropped details of the skirt though :D

Now that's done I can get on with finishing a UFO summer dress for myself. I think it was September when I started it. 3 months does = UFO in my sewing ledgers.

Thursday, 21 August 2014

the paisley no-longer-UFO shirt, and more robot

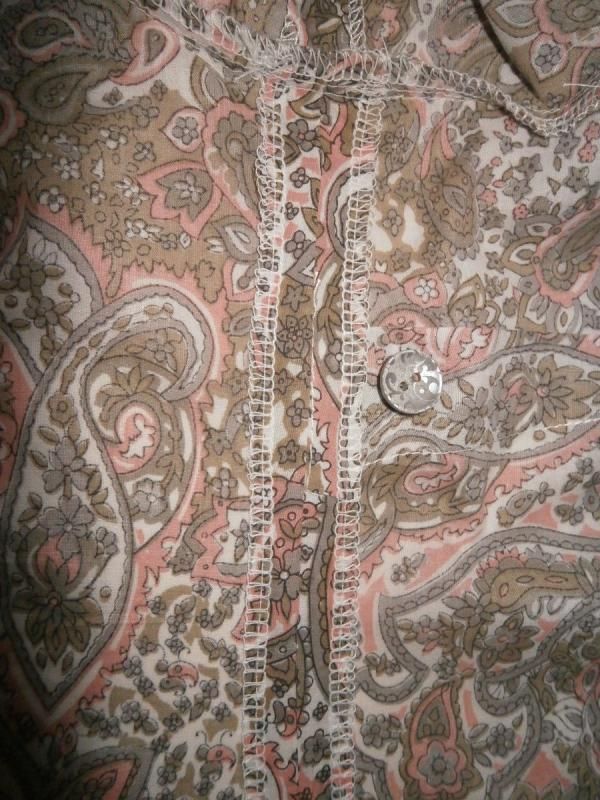
Last night I whined far too much about hand sewing buttons onto this shirt, but it was worth it as today I got 2 compliments on my new blouse.

I realised why the facing was too short - the facing is the original length of the shirt I drafted this from, but I cut the blouse longer. Silly me!

Something that maybe not everyone does is sew a spare button to a side seam or bustdart.

The reason I sew it into the seam is so that it has the same laundering processes and wear as the other buttons. I've always bought at least 1 spare button, and one time when I got it out of the button box to use I was shocked by the contrast to the other washed & worn buttons. Considering I can have a shirt or blouse last 4-7 years or more that can be multiple washes that affect non-shell buttons.

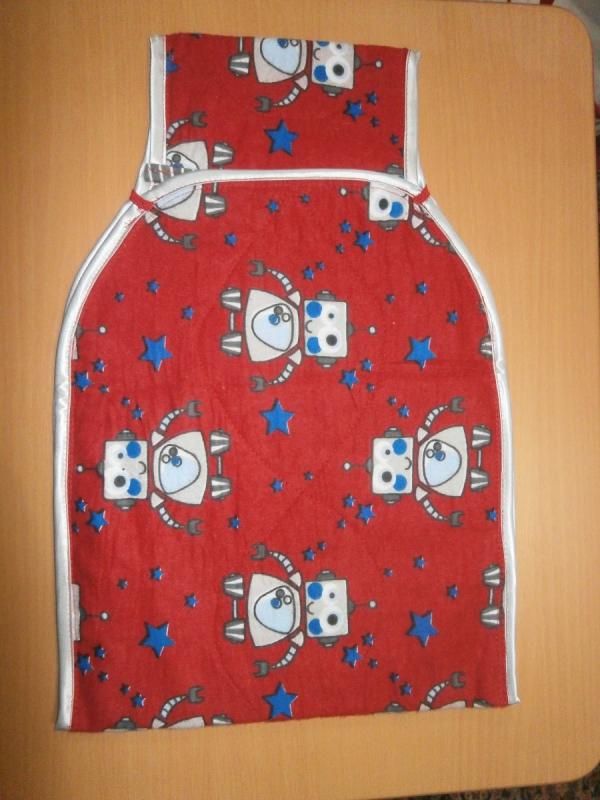
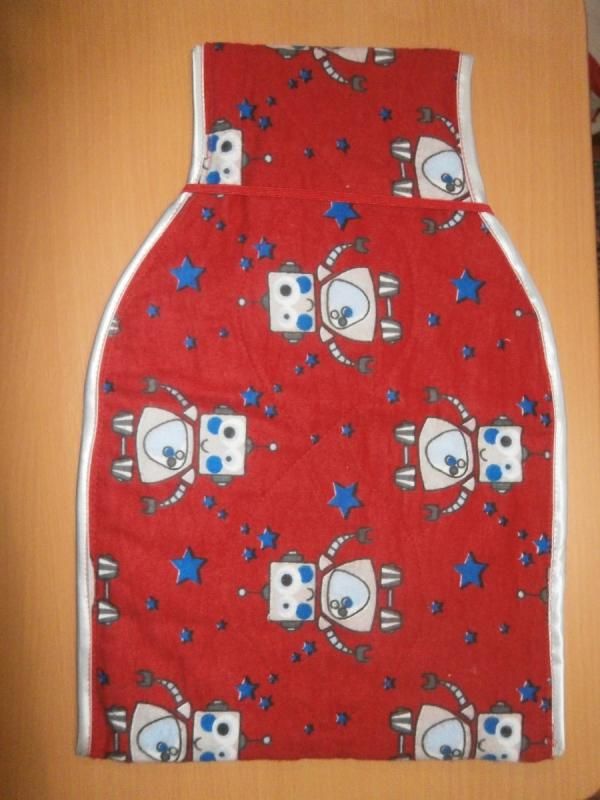
The other finished item in this post is a hot water bottle cover - a gift for a friend. It's 3 layers of cotton flannelette (2 inner layers of stash!), bound with grey satin binding (stash!) and then folded into an envelope and stitched next to the binding. The elastic is there to hold the cover in place - I've never used that on my previous covers but this is a gift and I had matching elastic, so it doesn't need to be stretched, just able to stretch up over the top section.

I self drafted this by drawing around a hot water bottle and guestimating how much ease I'd need once there was water in it. Snug but not tight. And I got it right first go. :D so I simply copy it each time.

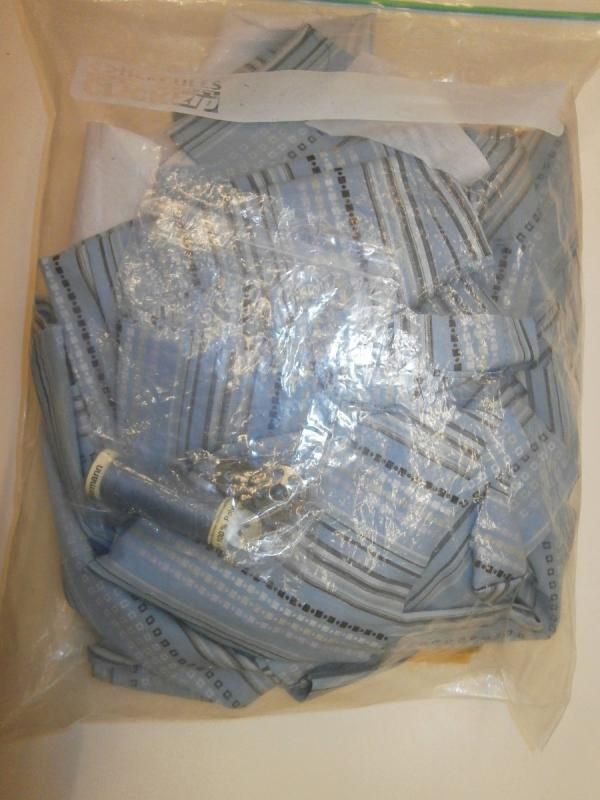
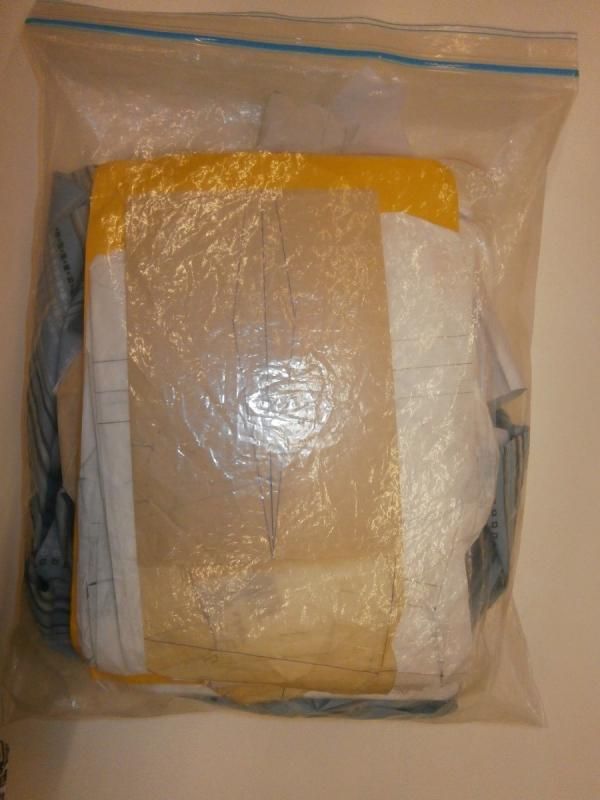
As a sidepoint to why I was confused at losing the buttons for the paisley blouse, I usually keep all parts of a project in a ziplock bag. cut out pieces, pattern, thread, zip/buttons etc.

Thanks to the missing buttons (which turned out to be in the drawer on my sewing table {hits forehead}) I decided to put the thread/bobbin/buttons in to a micro ziplock bag, inside the bigger bag.

Monday, 14 July 2014

complete - one robot nightie

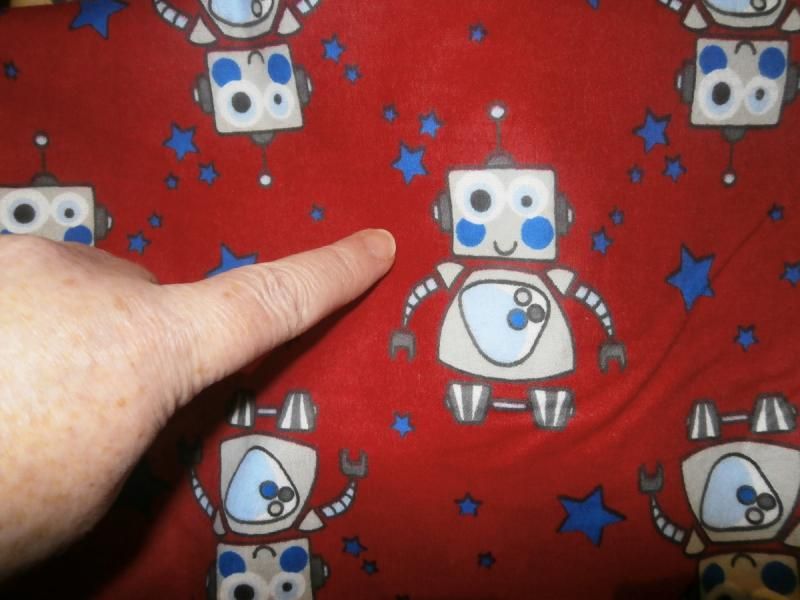
My robot print flannelette didn't hang around long enough to be come stash, it's now a nice new snuggly nightie.  Stash thread was used to sew it, and I used up a red bobbin, even though it was a slightly not-quite-right red. Not by much but I'm not entering a competition with it, just sleeping.


Saturday, 5 July 2014

finished my nightie for June MAGAM

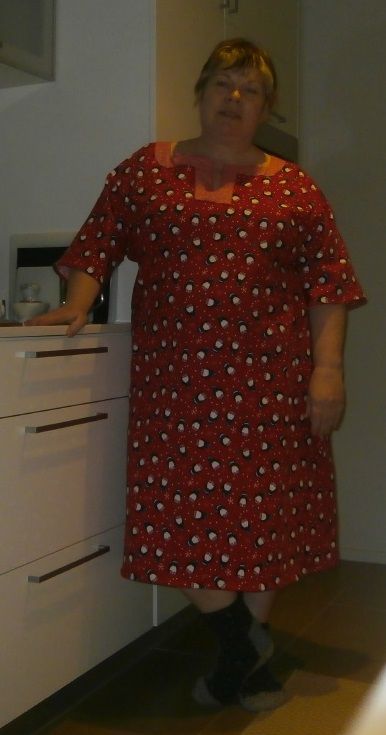
Thankfully I made few mistakes sewing this as it's a pattern I've used a lot before, however the external facing is uneven. Though I can't be too upset as it's sleepwear, not something I'll be seen wearing on the street. Flat fell seams make it comfy, modelled with socks on my feet as I forgot to pack my slippers (pet minding for friends).


I'm glad to have got another MAGAM challenge complete (missed one or 2 this year).

I have to admit that my stashbusting hasn't been helped by this garment, as I came home with another length for a winter nightie. This time it's robots!  

Sunday, 1 June 2014

photos from the ASG sewing retreat

I thought I'd best share some photos of the weekend before I completely forgot to. Here's the outside of our sewing space.


and turning 180 degrees around the view was this, that sign you can barely see warns that the edge of a high cliff is close.

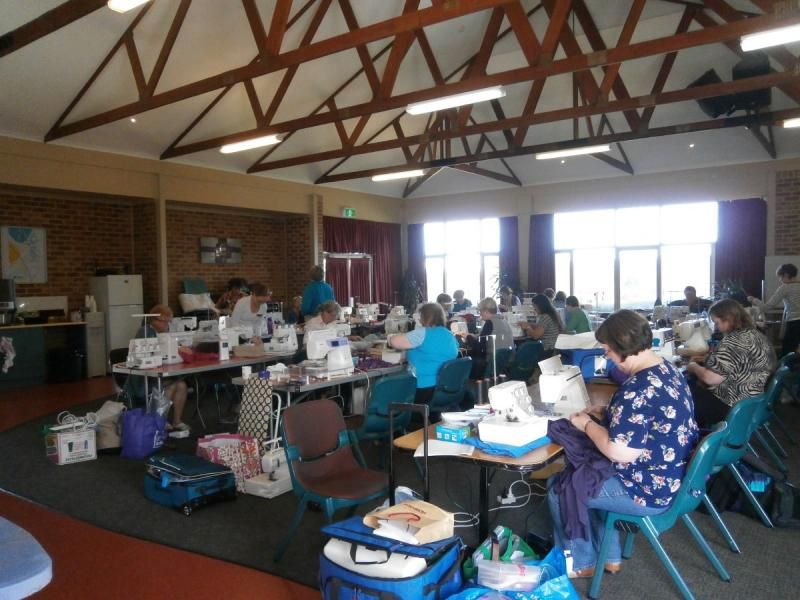
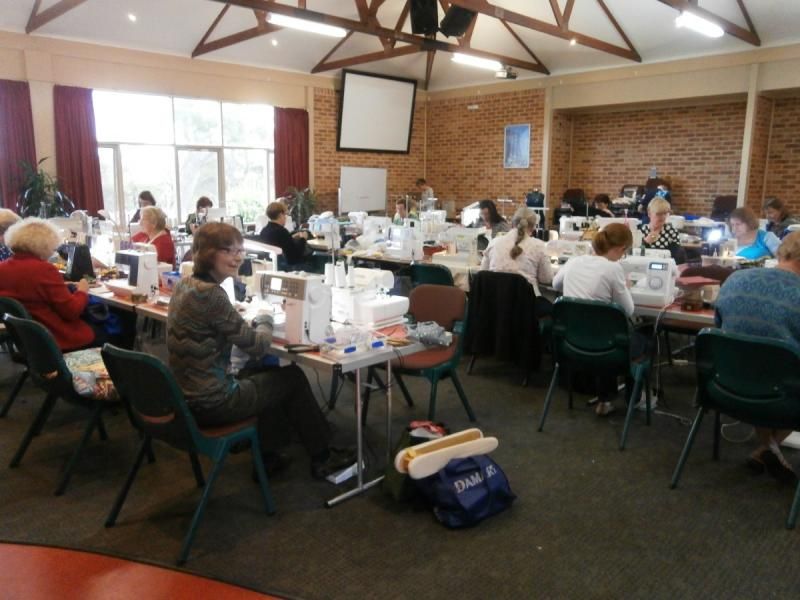
Here's the room where the 30 of us were set up, I placed my overlocker & sewing machine back to back and walked around the set up to use the overlocker - easier than moving the machines and their foot pedals.


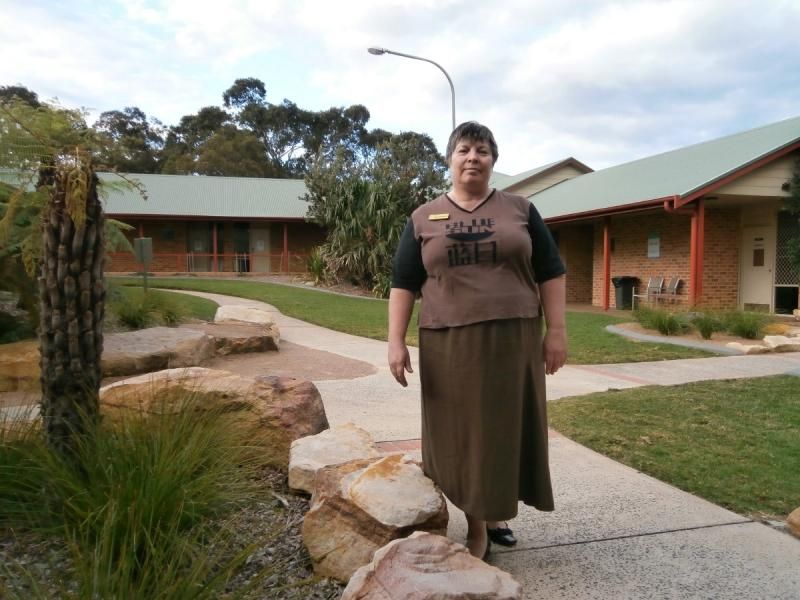
The 2 winter skirts that I finished - am so disappointed that my PCOS belly has swollen up like this. I feel like I look pregnant, when I'm not! The accommodation is in the wings that surround this garden - the large "sewing" room is in a corner of the square. Decades of Style #3004, a favourite skirt pattern.
And this was taken almost a week later, in another park. (again sighing over my puku ngārara). This is a favourite Burda WoF pattern from December 2004, and a completed UFO.  I'd foolishly cut it out forgetting to add the seam allowances to my traced Burda pattern. So I had to cut another panel and insert it in the right side seam.  I over compensated and ignored my inner voice telling me to take half of it out. So part of the Sunday morning was spent unpicking 75% of the waistband, unpicking 1 of the 2 panel seams, narrowing the panel by half at the top & swooping it out again in the bottom quarter to mimic the shaping on the other side. Then overlocking the raw edge (I never overlock together), reseaming, and reattaching the waistband. I should never have ignored my inner voice.

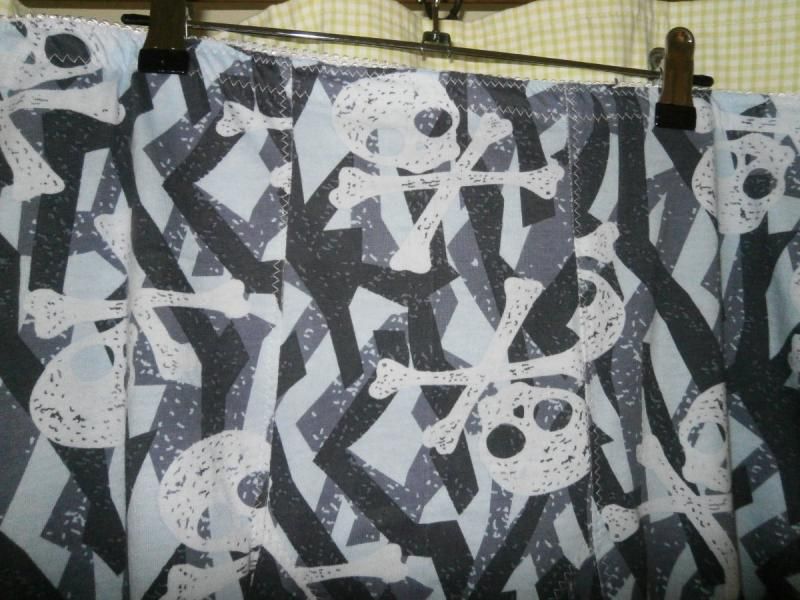
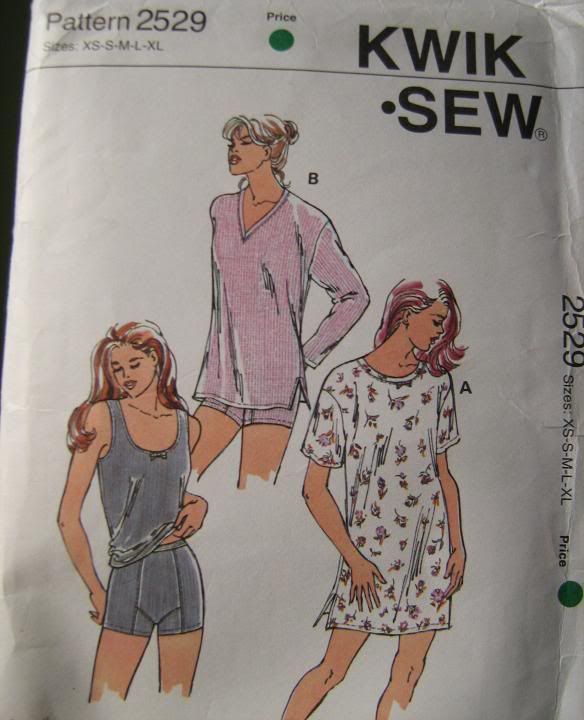
Lastly, my pirate pants (KwikSew2529 with a longer leg).
I used up my remnant of pirate cotton knit, before I even made the yoga pants that I bought the fabric for (to wear around home). Hmm, I'm guessing that they're a missing UFO.

Monday, 24 February 2014

wardrobing the UFO skirt & on a pattern hunt

I'm having to wardrobe the finished skirt for a little while - I've gained enough weight since my gallbladder removal that it doesn't fit around my waist/hips. I'm hoping to resolve that issue over the next few months, so haven't given up hope of wearing it this year.

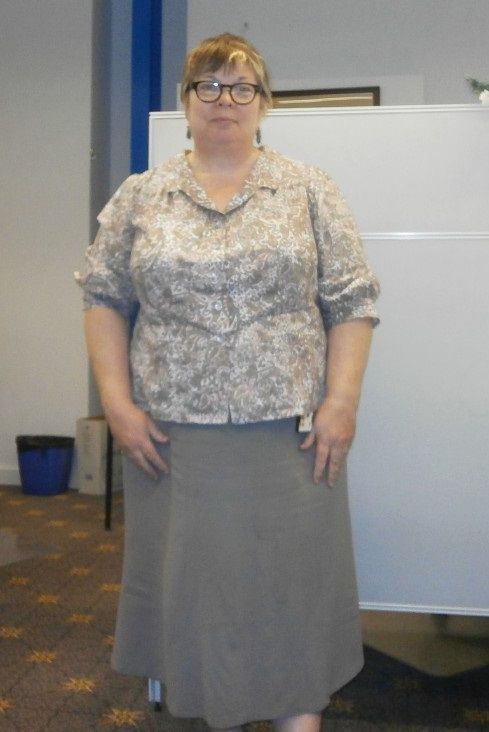
The purple skirt will be fine, as it was cut out in January when I knew what was dealing with (girth wise). Toted to work to day was the next stashbusting skirt, a taupe-ish linen/rayon I bought in Adelaide in 2010. I'm using a pattern that I made up a couple of times in 2005, and it too as asymetric seam lines and this time an asymetric hem, McCall 4593

(here's a link to one for sale on ebay, cos I don't think I've got a pic saved of it elsewhere).

And the pattern hunt? The vintage Anne Adams pattern I want to use for a dress is hiding from me. I had it 4-6 weeks ago, but have zero idea where I put it when I got home from the sewing guild meeting.

Silly me.

Sunday, 23 February 2014

Productivity - I have it at last

I went to the sewing guild yesterday and had a busy time. I didn't need to take the 3rd skirt as I didn't get to even touch it.

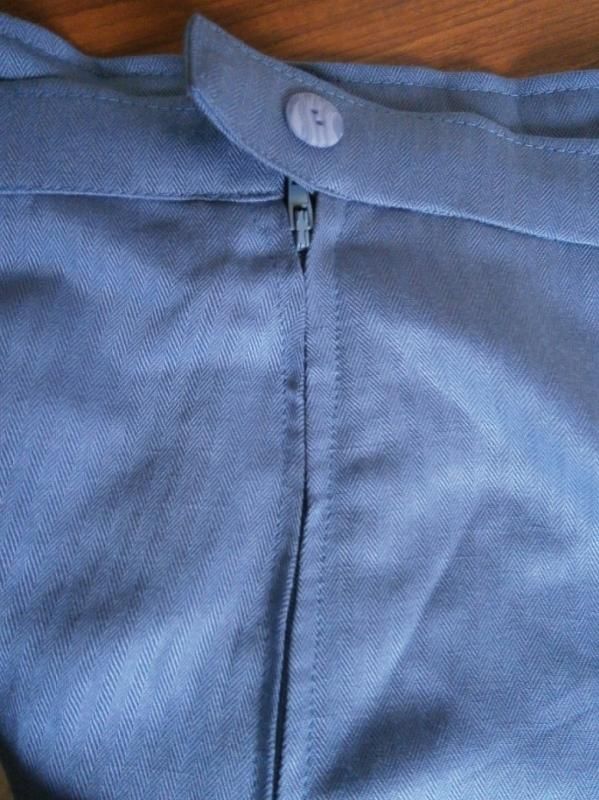
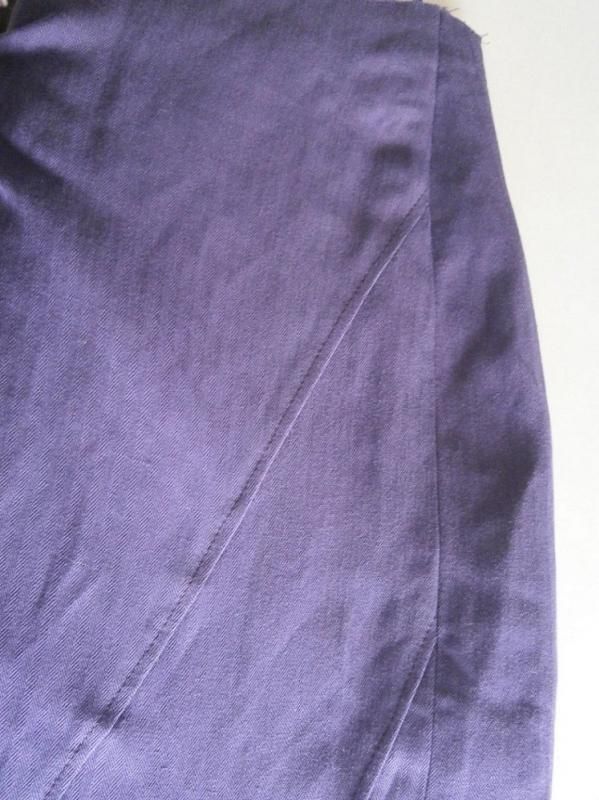
I tackled the near doomed UFO skirt - it got to the point where I didn't care how well something was done, so long as it was done. Look at this zip insertion for example. Worst ever, but I just don't care!  I attached the waistband today, and topstitched it as the interfacing started to lift. I don't care if it's sewn in and not fused.  I started stitching in the ditch but halfway changed ... nobody is going to see it as I don't tuck in tops. See what I mean, what an attack of the "Just get it done" when usually I'd take the effort. But after 2 years and 7 weeks, pffft. Get it finished.  The buttonhole is done, and I got this button from the stash - it's a lavender and almost perfect match to the periwinkle blue.  This fabric just doesn't want to photograph properly.


Next up, the purple skirt from the Burda WOF pattern. I think it might be a smidge too long, but I'm not going back unless I get laughed at when I wear it. I topstitched the panel seams, and put the zip on the RHS as I don't need to wrestle with a zip over the seamlines. The original pattern had an elastic waist so there wasn't this to think about (had I done that). However, with my waist & hip difference, I get too much fabric bunched in the shortness that is my body. blech.
Sunday, 16 February 2014

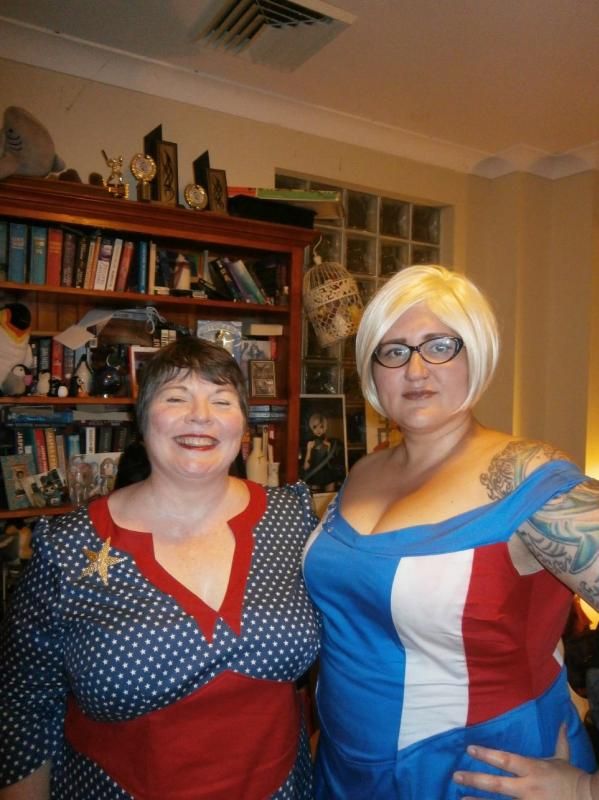
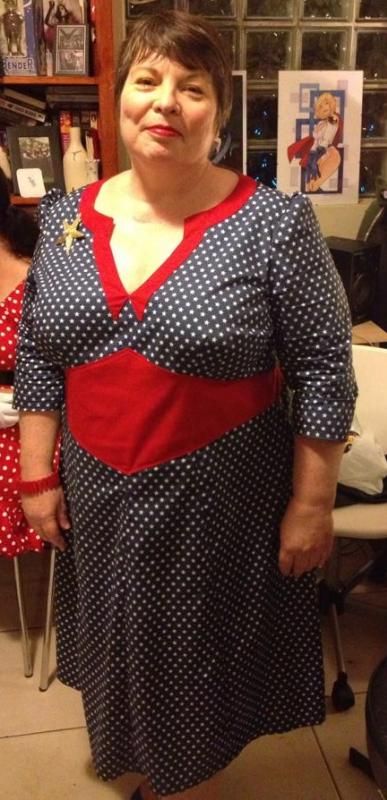
finished the Lilly Rose - with a superhero themed dress

My friend held her superhero themed birthday party yesterday, and I got my dress finished in the squeak of time.  I still want to tinker (a couple of seams are a little puckered, and it needs small shoulder pads).
On the bus there I rememebered that I have a vintage 40s hat in red wool that would be great with this, or I wanted to make a rockabilly style headband but didn't get there in time.  Anyhoo, on to my dress


I'm dog minding for friends and forgot to pack the right shoes for this, and despite going home for some forgot to put them into my bag.

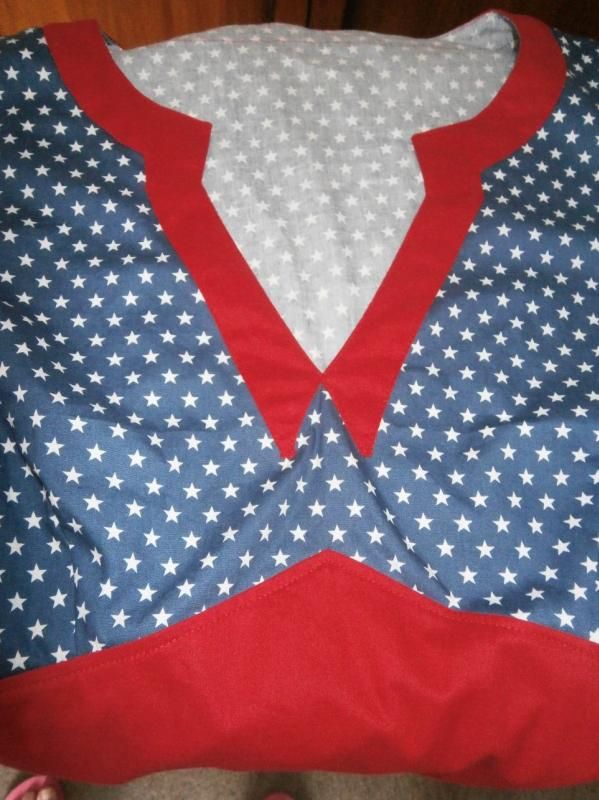
I altered the neckline and made that up on the fly. Originally I wanted a W shape but thought it wouldn't work and went for a deeper V - until I realised the V would meet the waistband, and that wasn't the look I was after with such a narrow band.


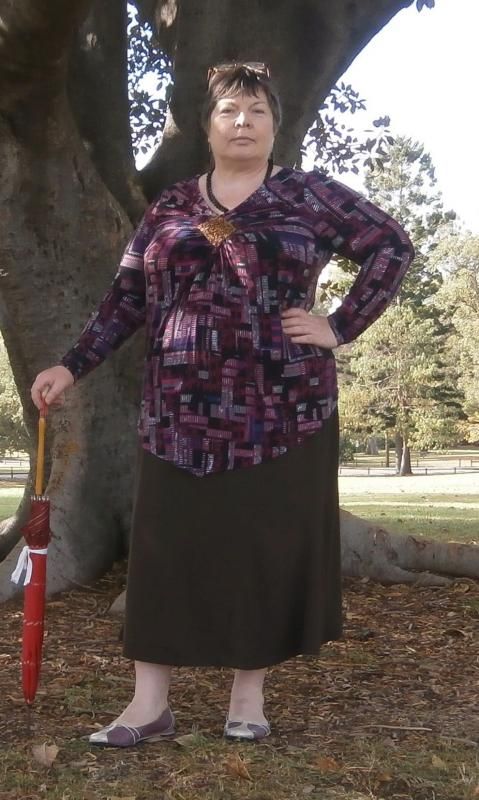
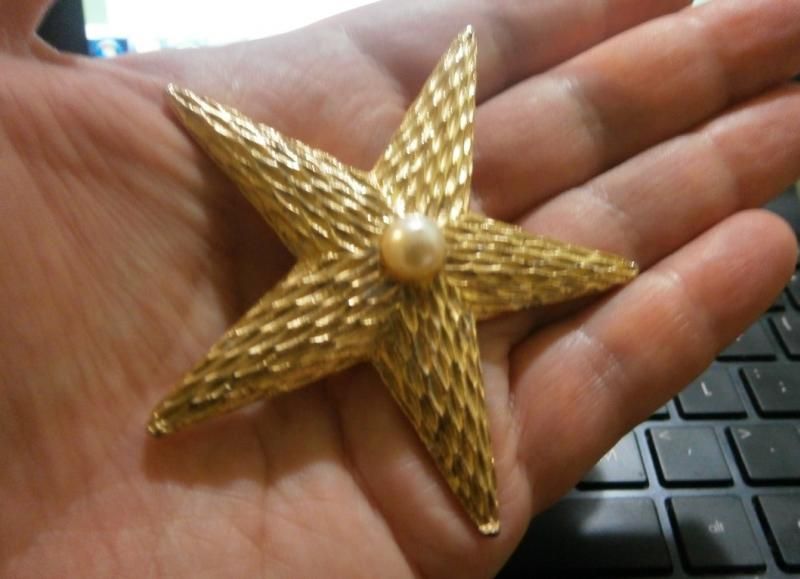
and I was so excited to find an affordable massive gold star brooch on ebay.  As idea of scale, I take size 9 gloves


Oh and a full length pic -- which I've borrowed from Dee