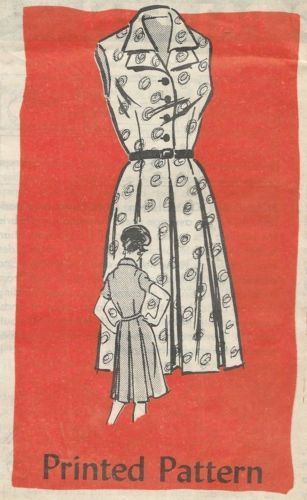
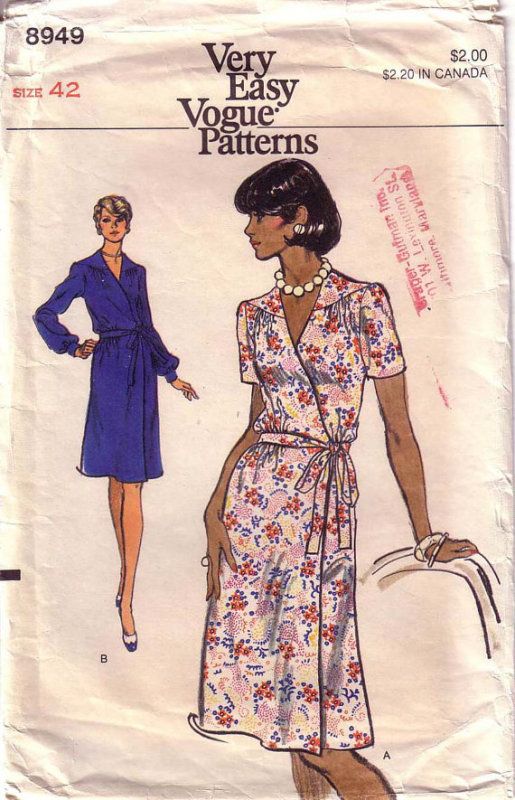
A couple of months ago I started sewing another summer dress version of
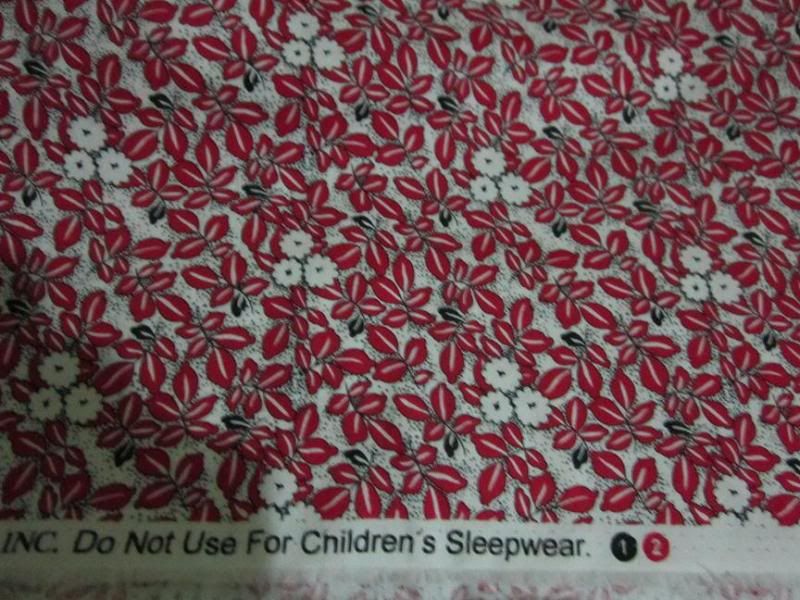
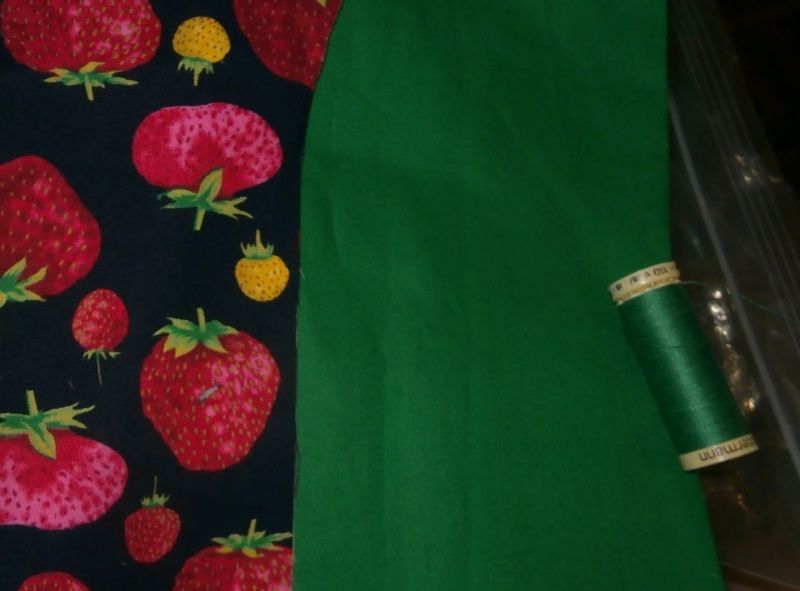
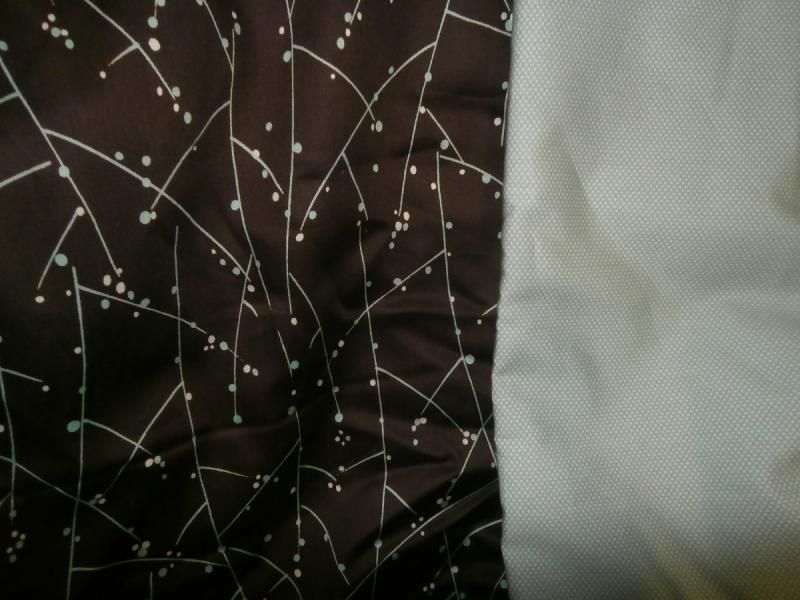
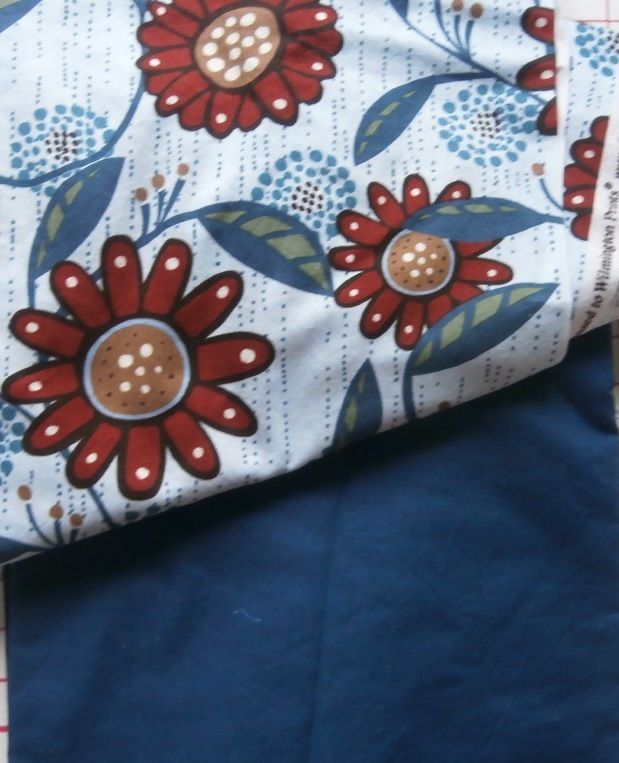
Lilly Rose. The print fabric was from my stash & bought on hols
during a fabric shop tour with my Brisbane posse. The plain fabric
bought earlier this year to go with it. The skirt is assembled and the
back darts stitched. Thought I'd cut out the sleeves but hadn't - so I
must find the shirt pattern I've taken them from.
What ground
production to a halt? Realising that I didn't want a flower on either
(or both!) bust point like a target. Who needs their clothing to say
"look at my acreage".
So
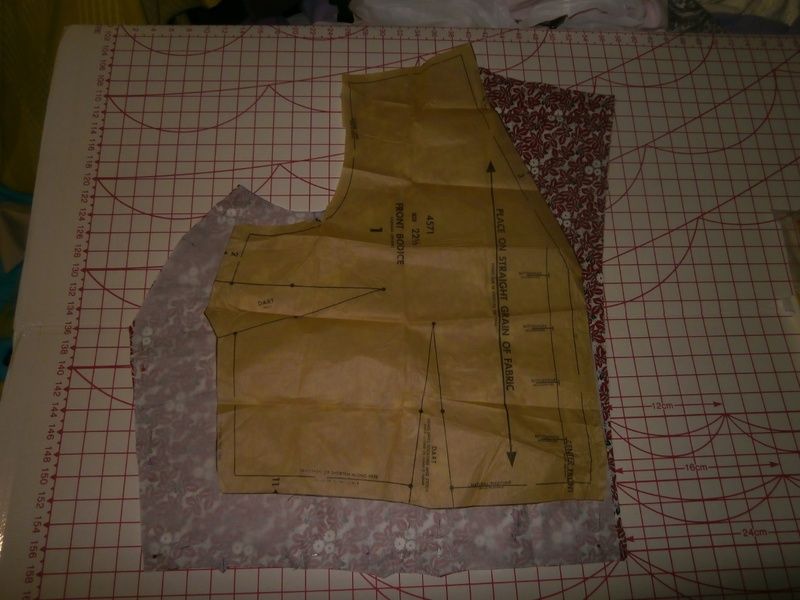
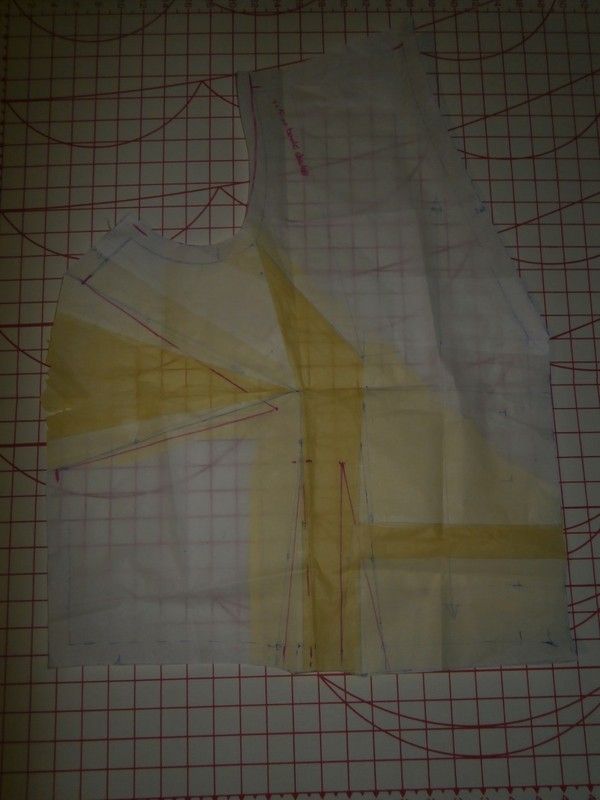
on Saturday, at the Australian Sewing Guild group, I stopped procrastinating and
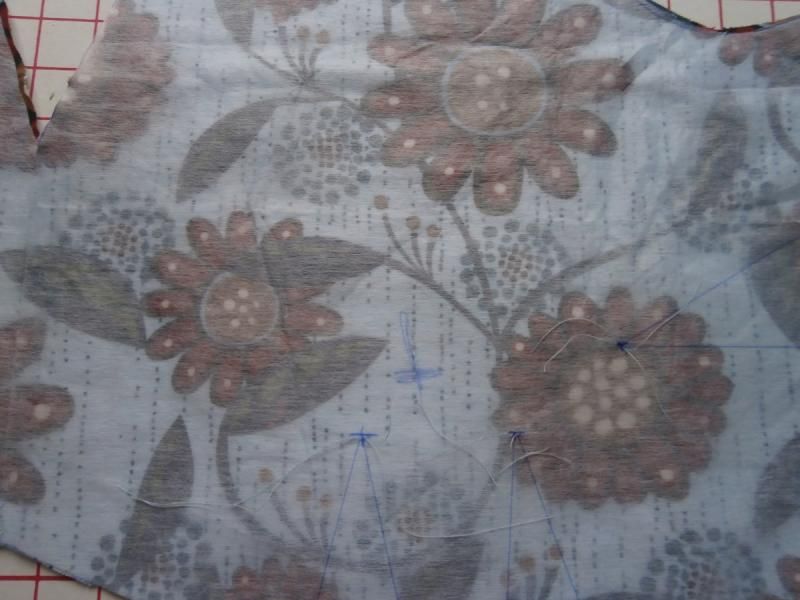
traced the full front bodice pattern onto see through non-iron
interfacing. Next I placed the full pattern on myself and marked BP (bust point) on each side.
Only to startle when someone said to look out that the ink didn't bleed
through onto the top I was wearing. Yep, I was a bit tired & silly
yesterday.
Then with a full pattern piece I could cut a single layer piece after shifting it around to make sure it was on grain and dodging both BPs.
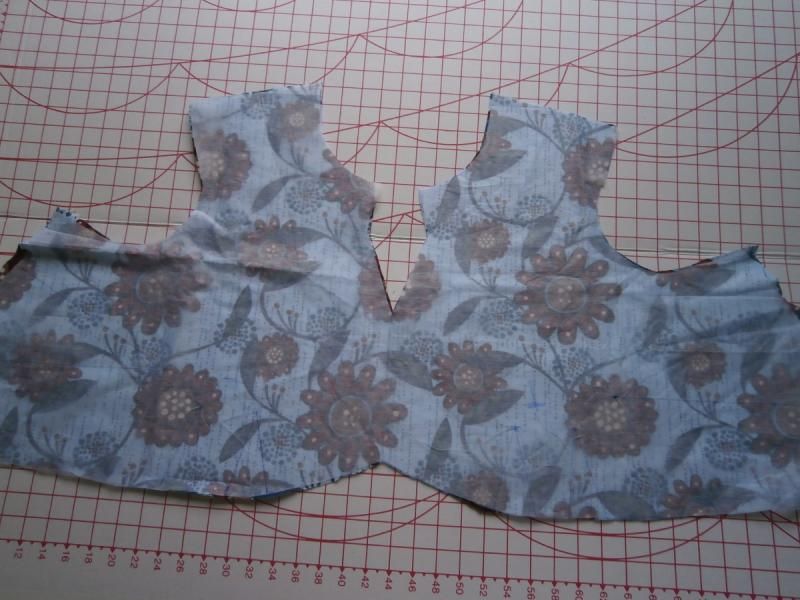
Having made sure that there isn't a target on either ... a + marks the BP spot.
That's
pretty much all I did all day, I was tired and thought I was bound to
make a dumb mistake if I stared sewing & cutting. If I got this
wrong I still have enough fabric to cut another bodice piece as well as the
sleeves.